Just settling down from a hectic but very enlightening few days at the ubiquitous music conference in Brandenburg. Thank you to the organisers for having me over to speak with you about some of my work. It was a really great few days with lots of likeminded people from many exotic destinations across the globe (and a few from Ireland too :) ). I enjoyed very much hearing about your varied and impressive work.
If you are interested to look at the paper, it should be published soon, but in the interim, you can learn a bit more about this work by visiting the bitbucket repository here

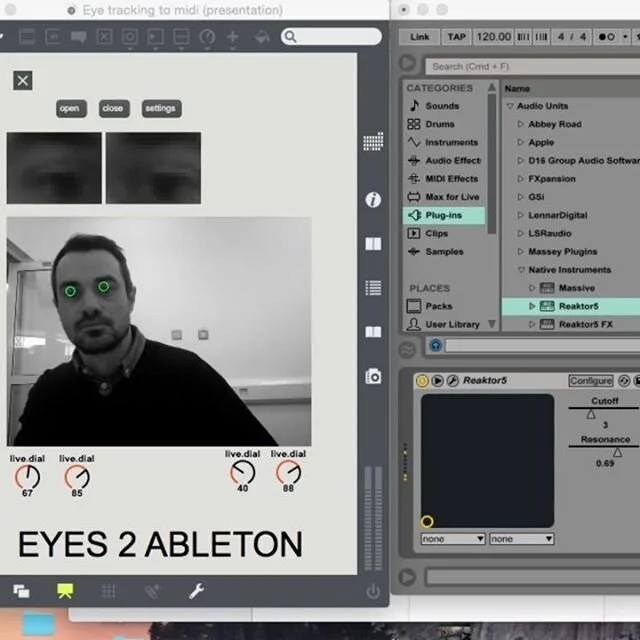
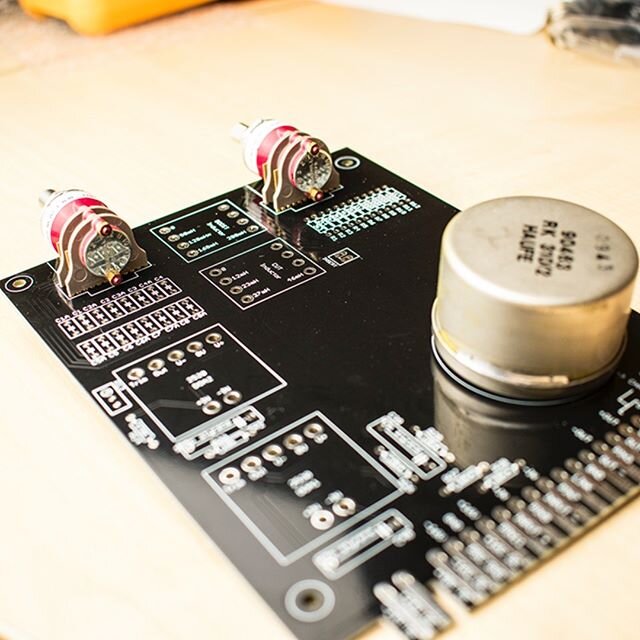
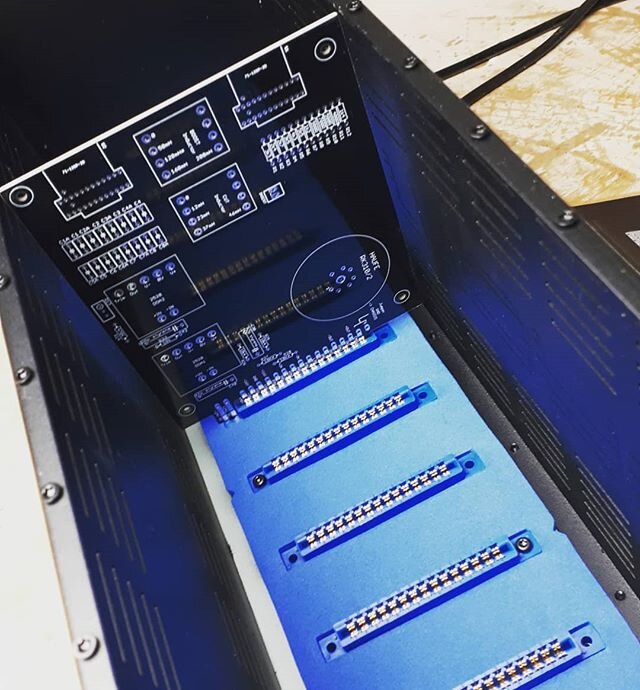
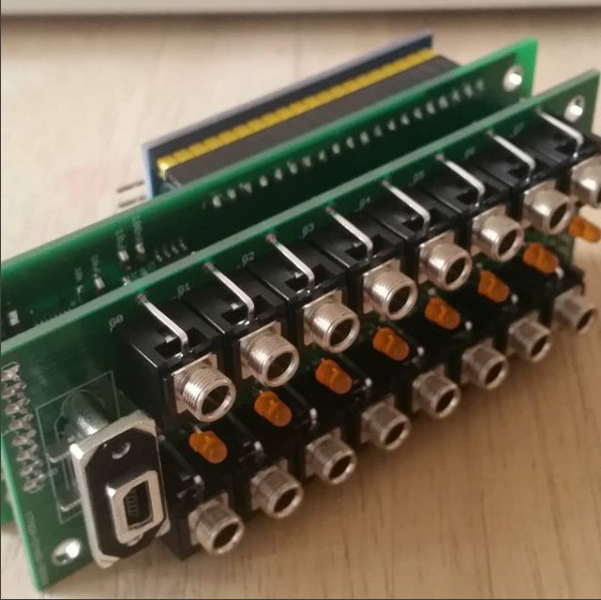
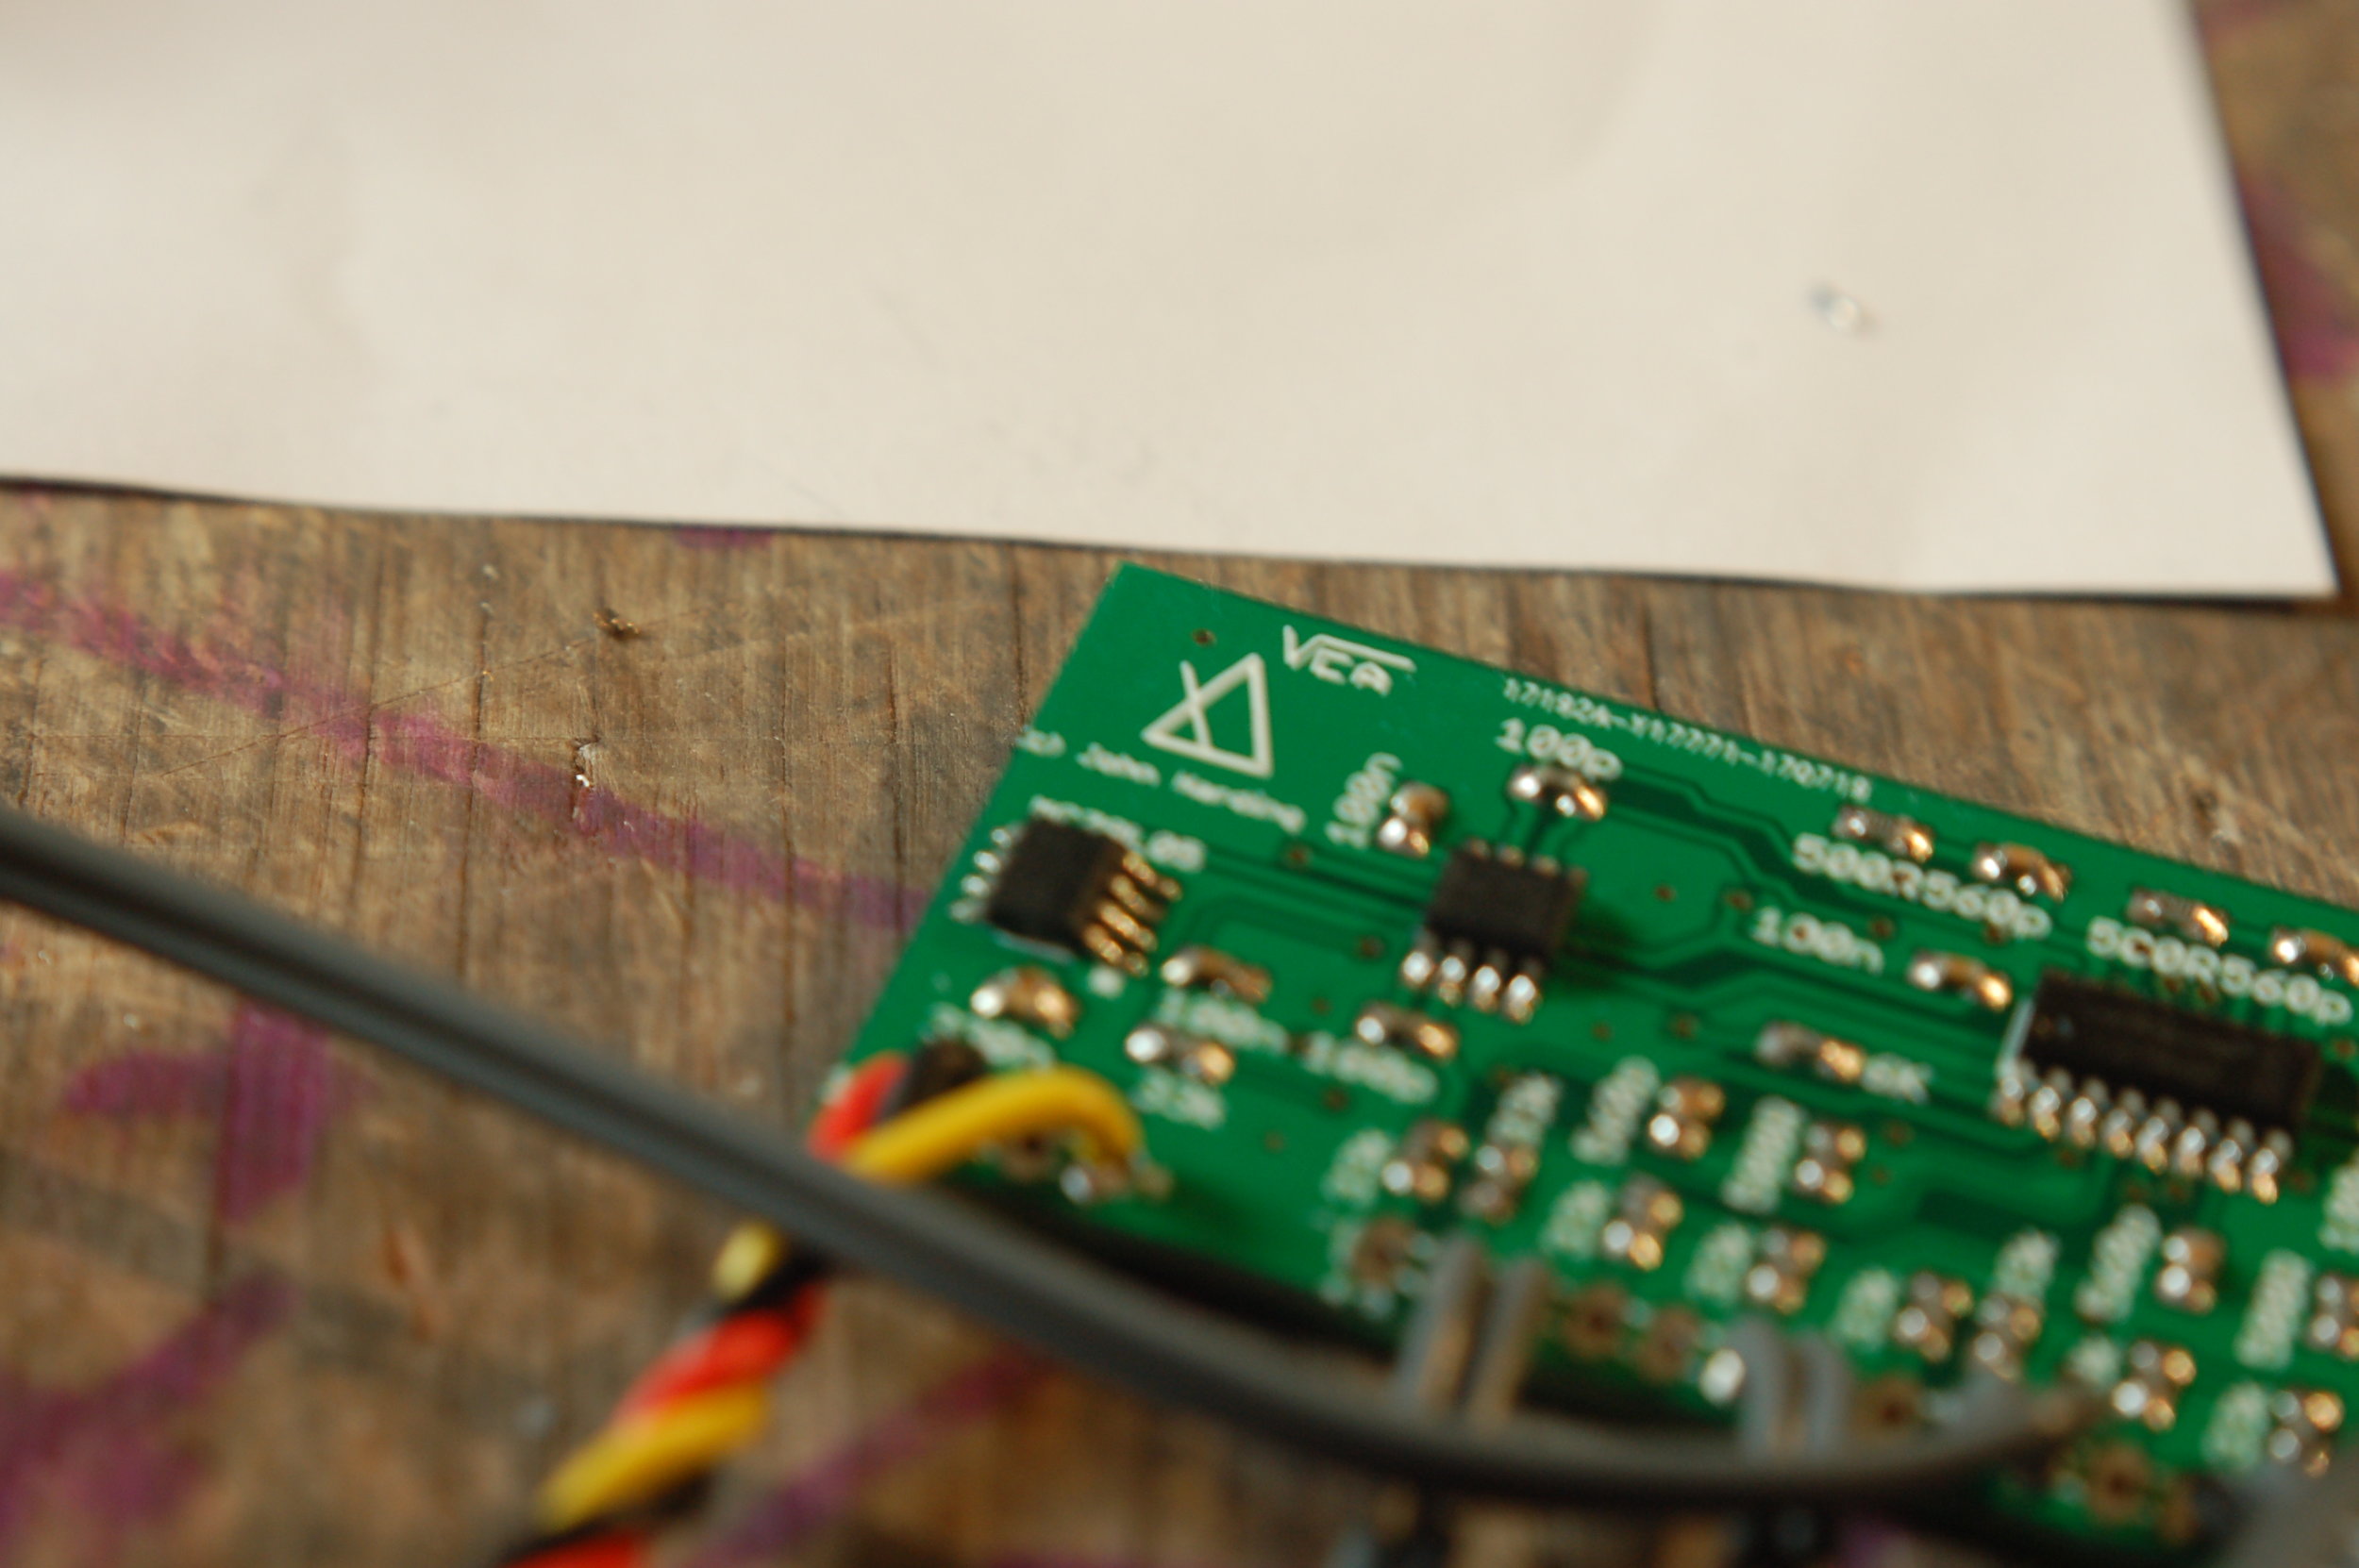
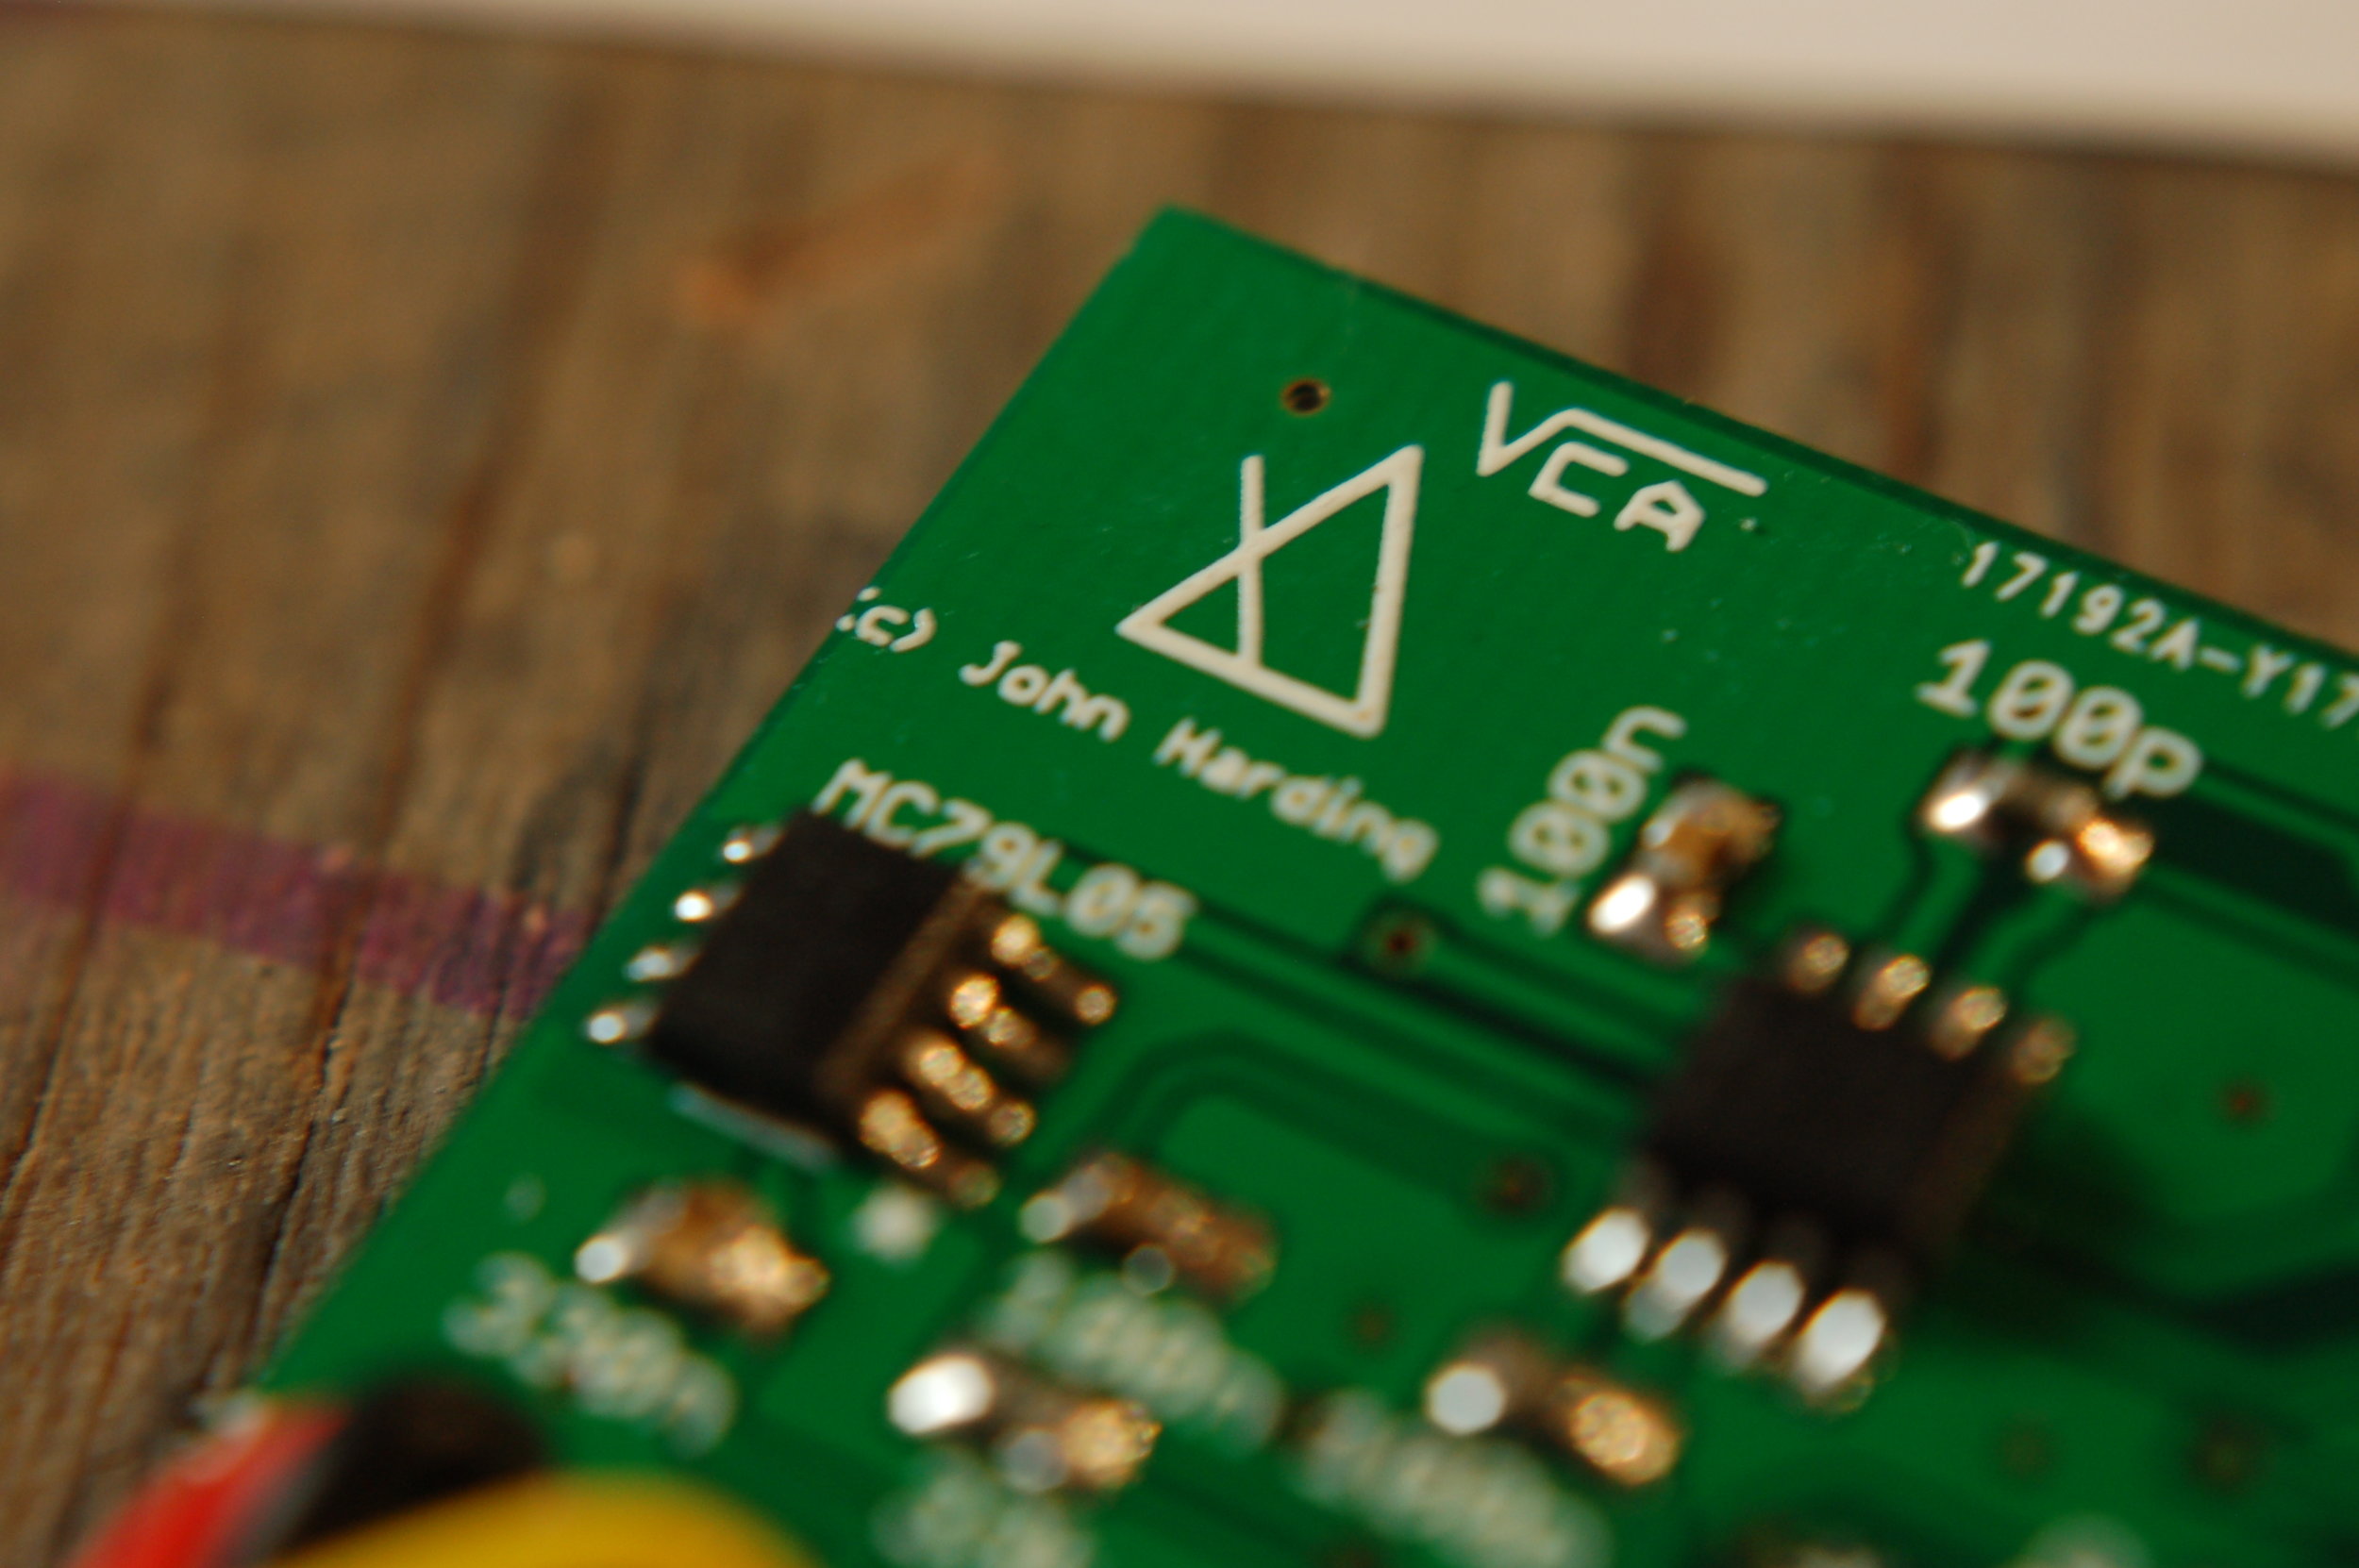
The repository area will contain all the coding and design files open source for you to explore (if that is of interest). If you are interested to learn more, the research paper and potentially an extended version should be not too far away. I hope to have some kit modules in the very near future too. More on those elements, soon.
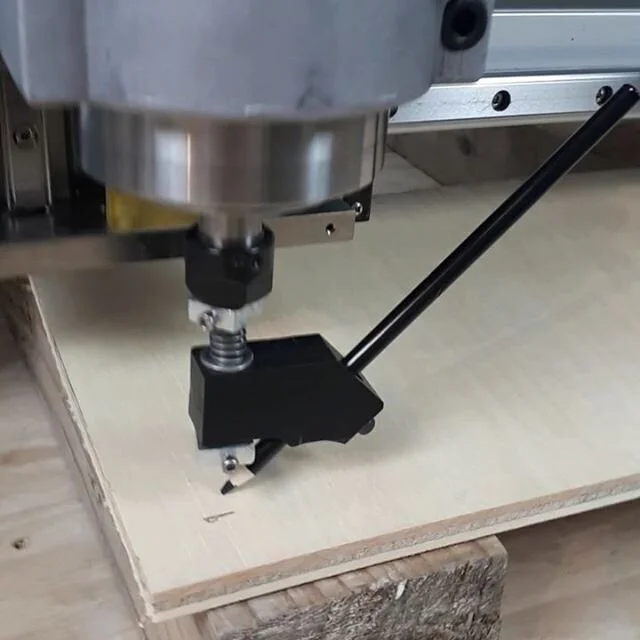
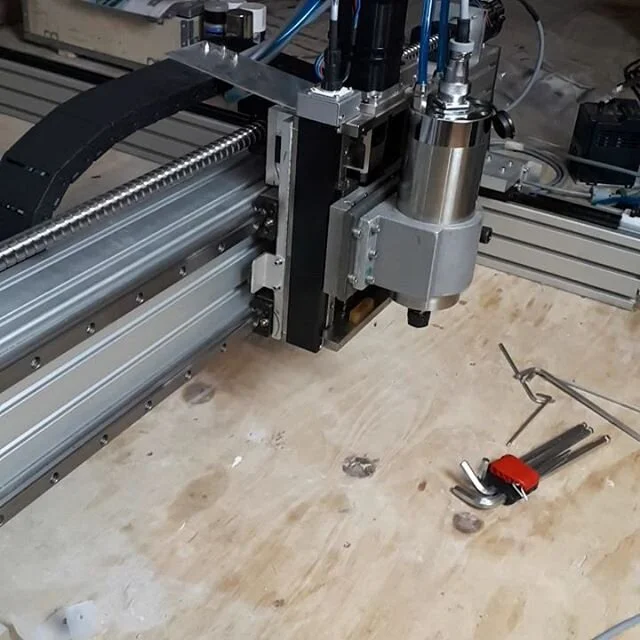
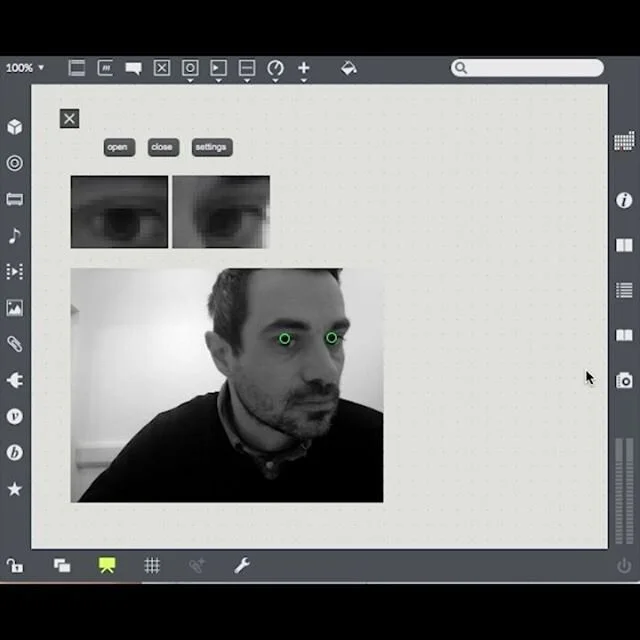
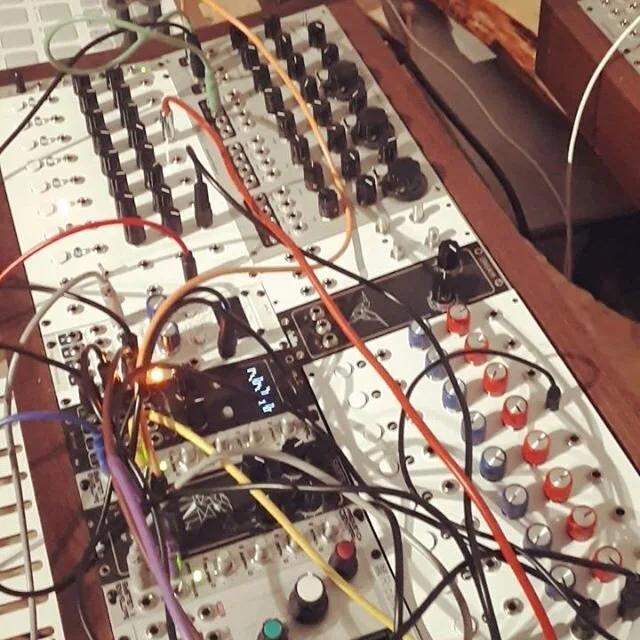
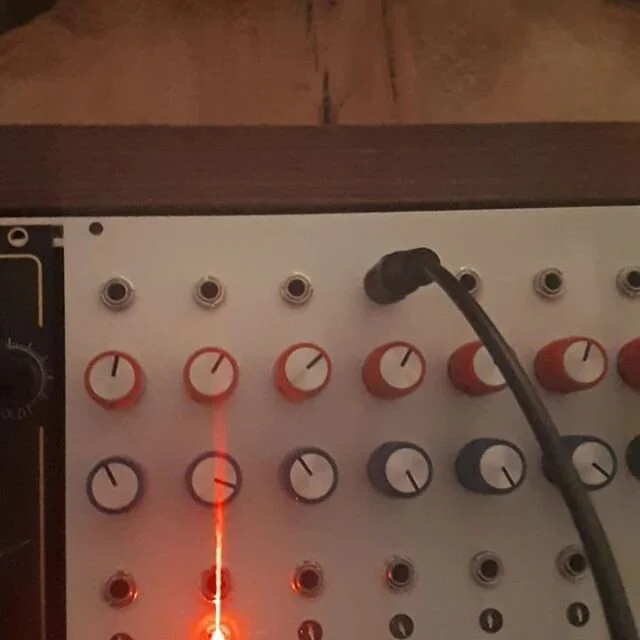
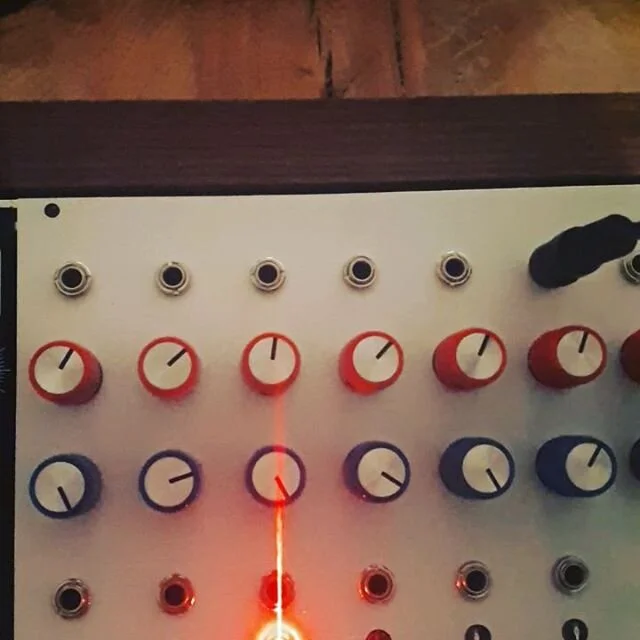
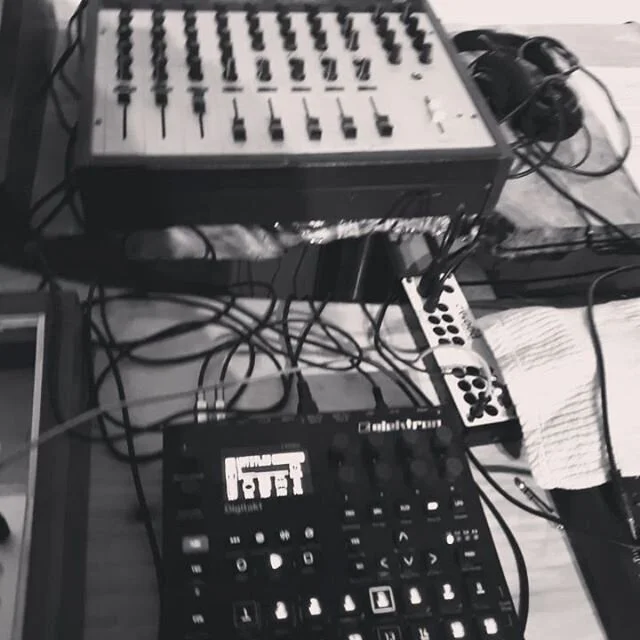
If you want to see the module in action, there is a youtube playlist of the basics, here
(but, please do ignore my less than professional videography skills)
Aside from that, once again a really big thank you to Ubimus 2025 organisers and participants. I was humbled to see the level of interest in my creative noodling and I had a blast. Time to get back to rainy Ireland.
Take care, John